A complete guide for Lottie animation with GatsbyJS

Everyone knows about Lottie from Airbnb (I guess!), so we don’t need a long introduction here. Just a short one:
“Lottie helps us adding micro animation to the app much easier.”
But why Lottie?
- Small file sizes.
- Scalable without pixelating.
- Easy for developers to implement.
- For all platforms: iOS, Android, Web.
- We, designers, control the quality of the animation.
Some definitions:
Just ensure that we are not getting confused (like me in the past).
- Lottie: a code library that renders animations from data files - JSON.
- BodyMovin: an After Effect plugin to render animations to JSON files.
- Lottiefiles: a community to share Lottie animations
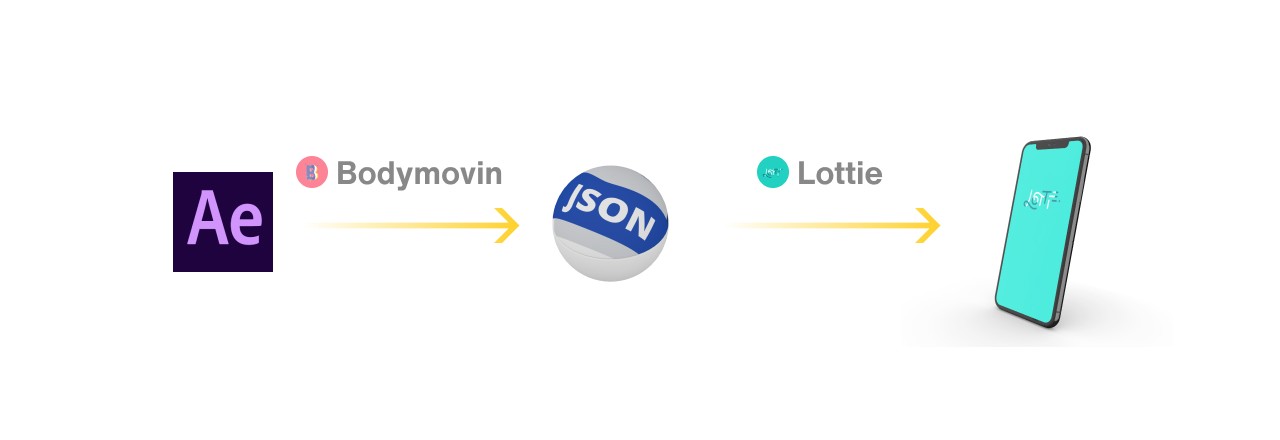
Part 1: Create animation
On this part, we will go through the process of creating a Lottie animation: From After Effect to export handover files for developers.
When you know the basics of After Effect, you just need to install a plugin, then use it to export the animation to your developers.
It’s easier than you think 😆
Prepare
What do we need to get started with Lottie?
We need basic knowledge with After Effect (AE). Of course! If you don’t, I recommend watching some very basic AE animation to get started.
Then we need to install Bodymovin plugin in AE from github.com/airbnb/lottie-web. The easiest way is Option 3:
- Download the ZIP from the repo.
- Extract content and get the .zxp file from ‘/build/extension’
- Use the ZXP installer from aescripts.com.
After installing
Go to Adobe After Effects (or Edit in Windows) > Preferences > Scripting & Expressions… > and check on “Allow Scripts to Write Files and Access Network”.
Now let create our animation.
1. Design
Design your static illustration on Adobe Illustrator. (You can also do it on AE, but it’s easier to do in AI)
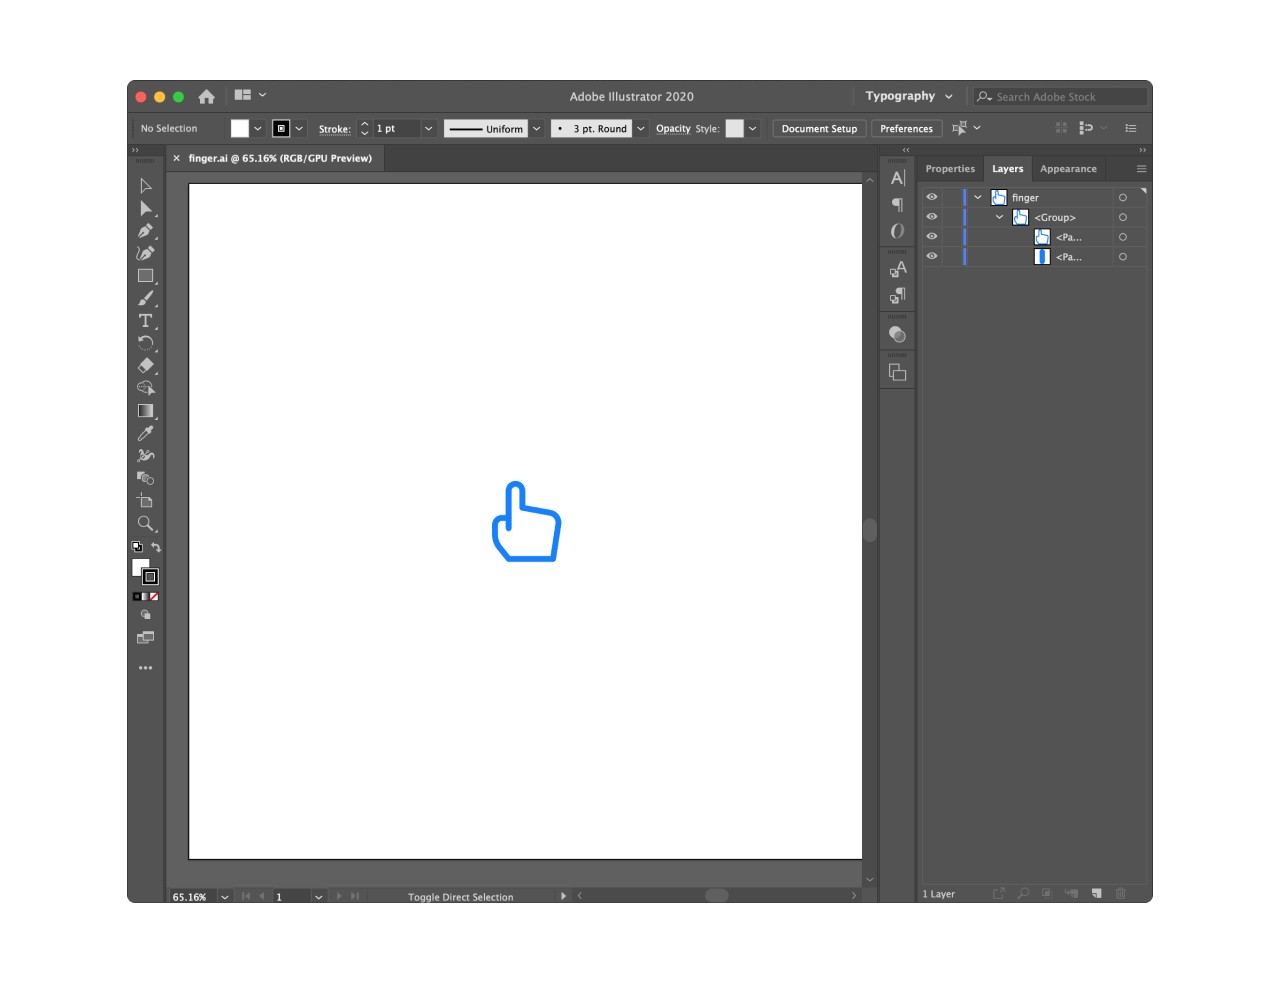
2. Load assets
Create a new project in AE, doesn’t matter the size. Drag the AI file to AE. It will generate assets for us.
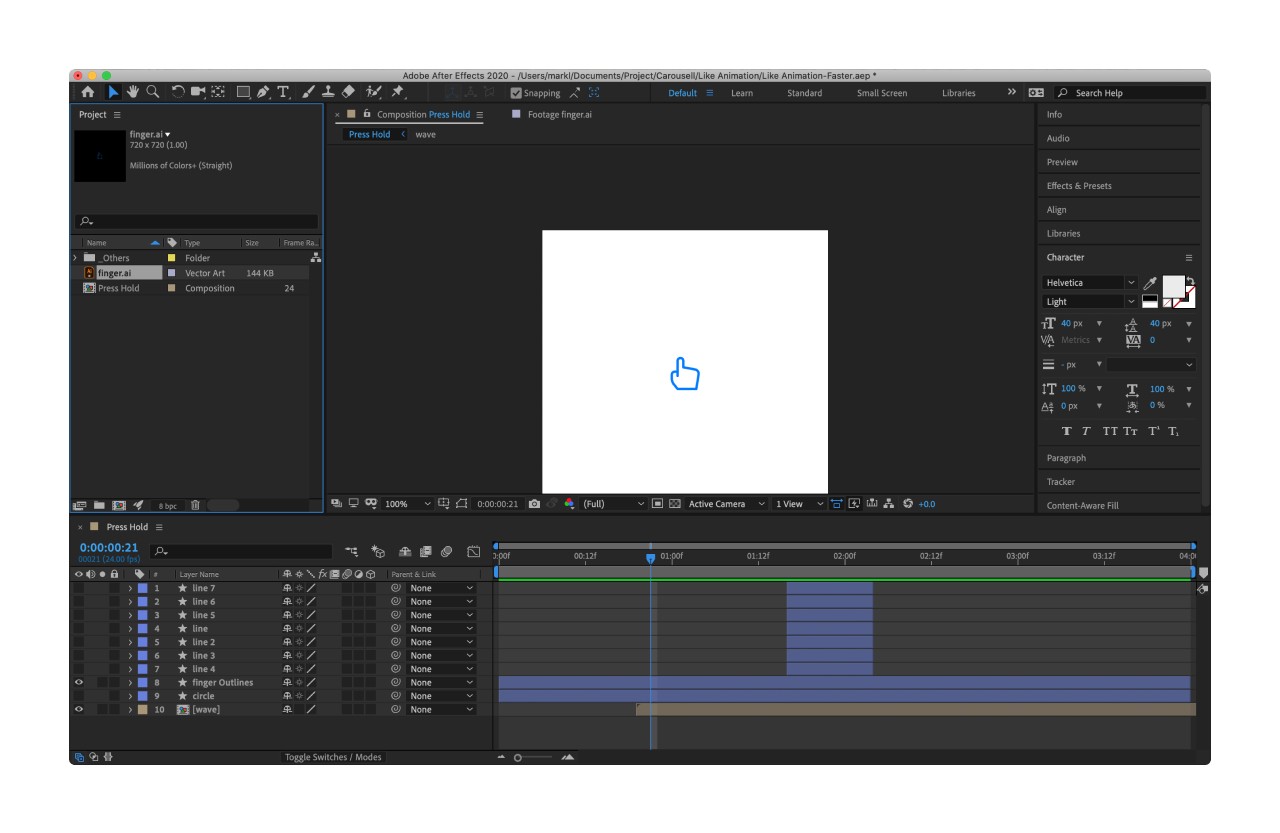
3. Trace and animate.
Lottie animation is based on shape. So we have to generate shapes from our asset. Tracing asset to shape: Right click on the .ai file -> Create -> Create Shapes from Vector Layer
Now animate them the way you want.
Support feature: solids, shape layers, masks, alpha mattes, trim paths, and dash patterns.
Checking airbnb.io/lottie for more features.
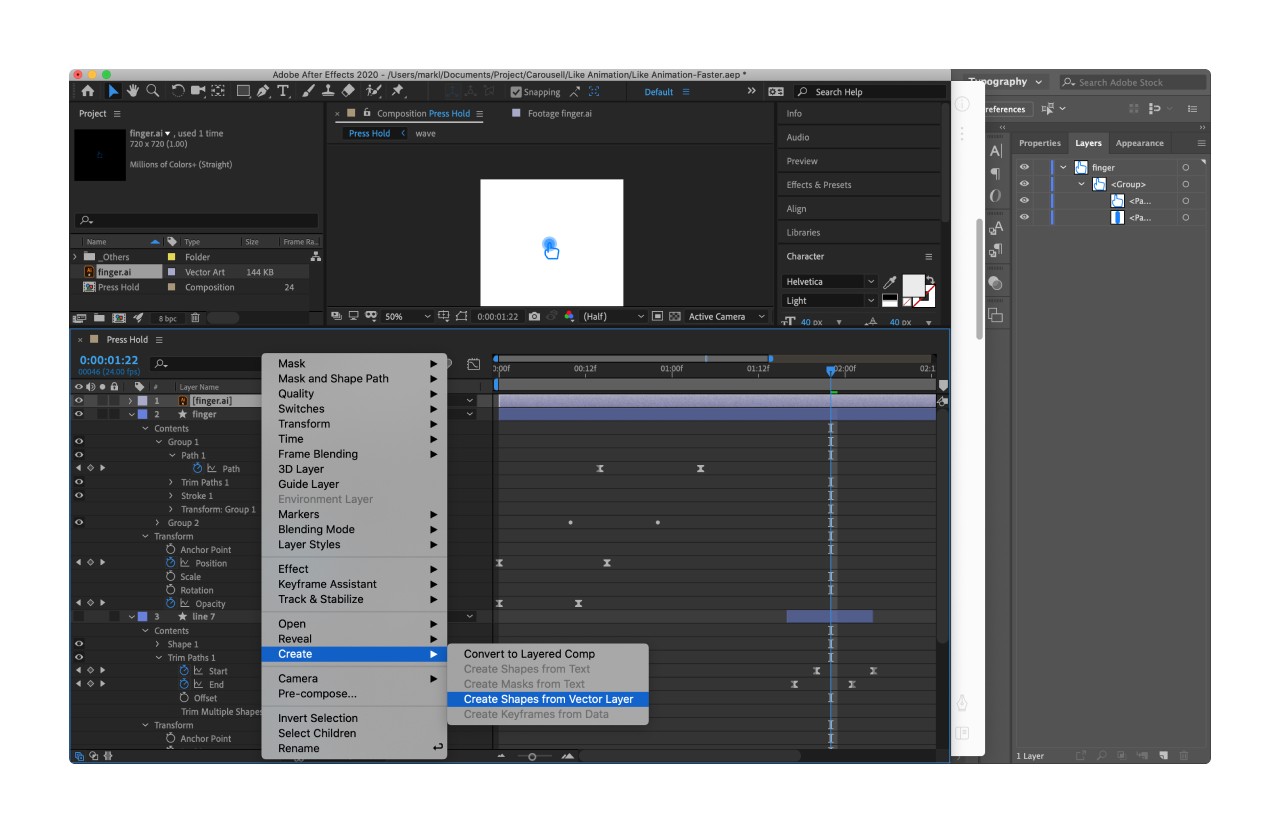
4. Finish and Export
To export: Windows -> Externsions -> BodyMovin
Select your animation composition -> Select destination -> Render
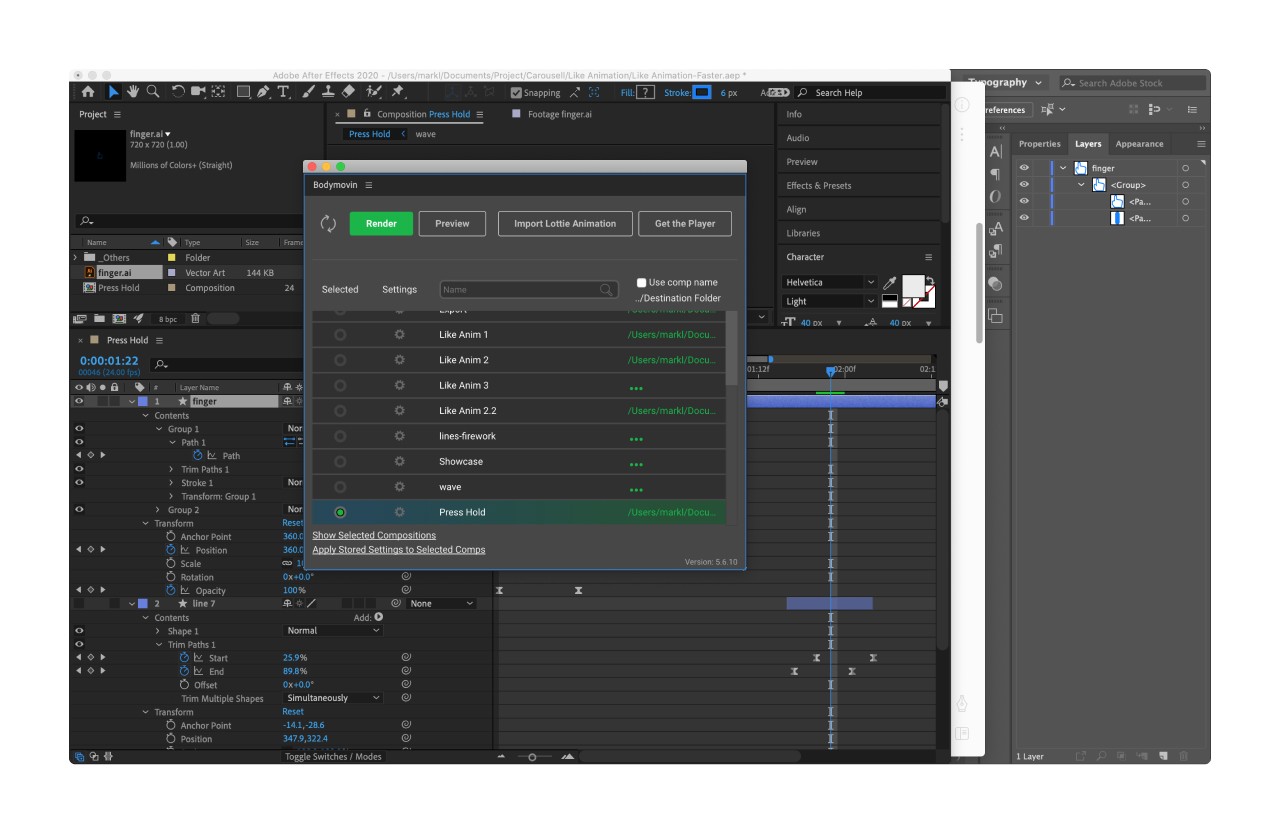
Now we had a JSON file. Let’s test it in your prototype and send it to developers to add to the app.
Part 2: Prototype in Figma
To ensure the animation work the way we want, creating prototypes is the fastest way to make the development process go smoothly.
1. JSON file
We need a JSON animation file. We can create one, or use one from lottifiles.com
I used the love animation from Aneesh Ravi.
P/S: Developers will use this JSON file to add animation to the iOS/Android app.
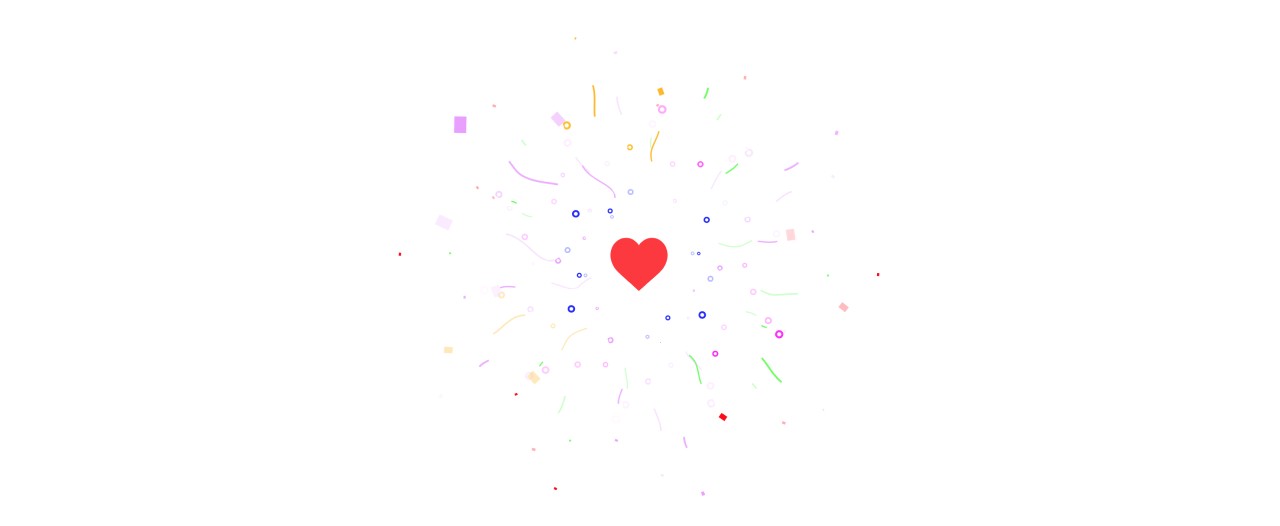
2. Load animation to Figma
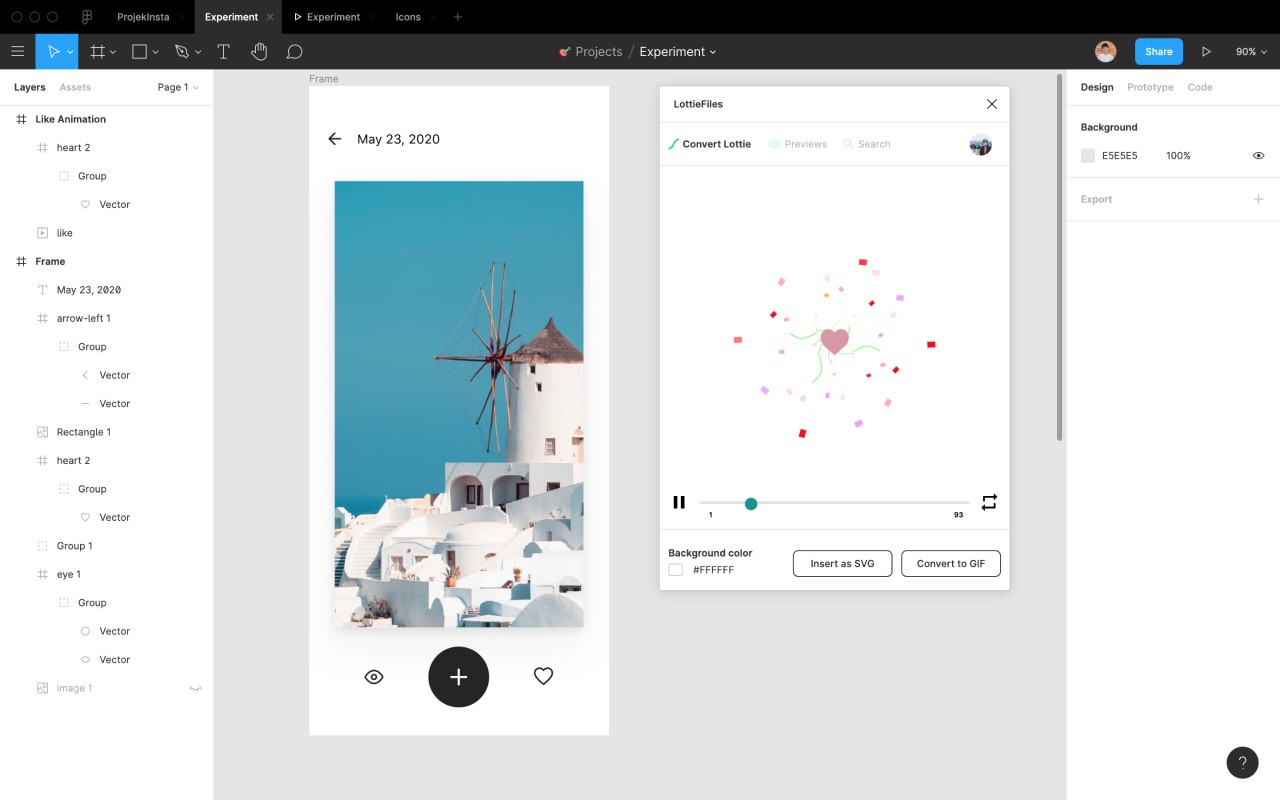
Drag JSON file to LottieFile plugin to load animation. Click “Convert to GIF”.
3. Add GIF / Animation
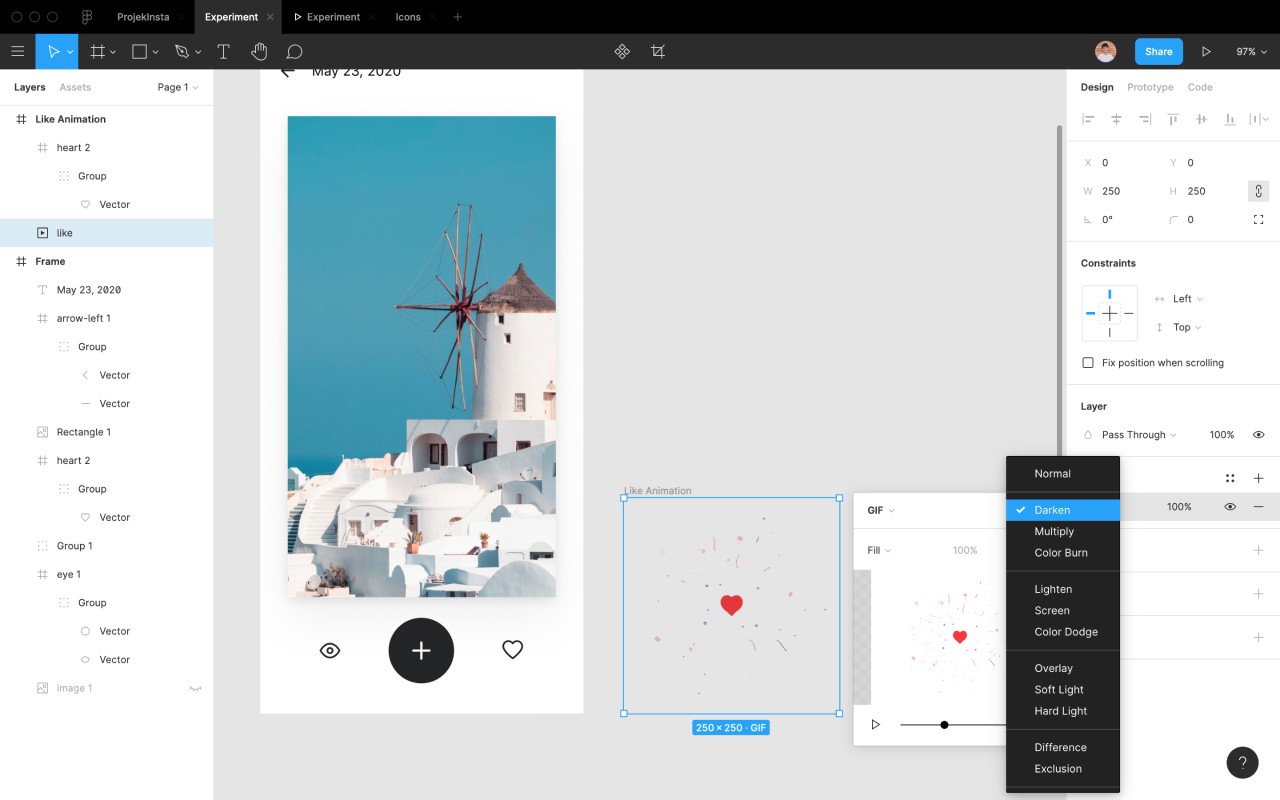
Create a frame, and insert the GIF. Adjust the size of the GIF to fit your design. Change the Blending mode to Darken to hide the white background in the GIF.
4. Create interaction
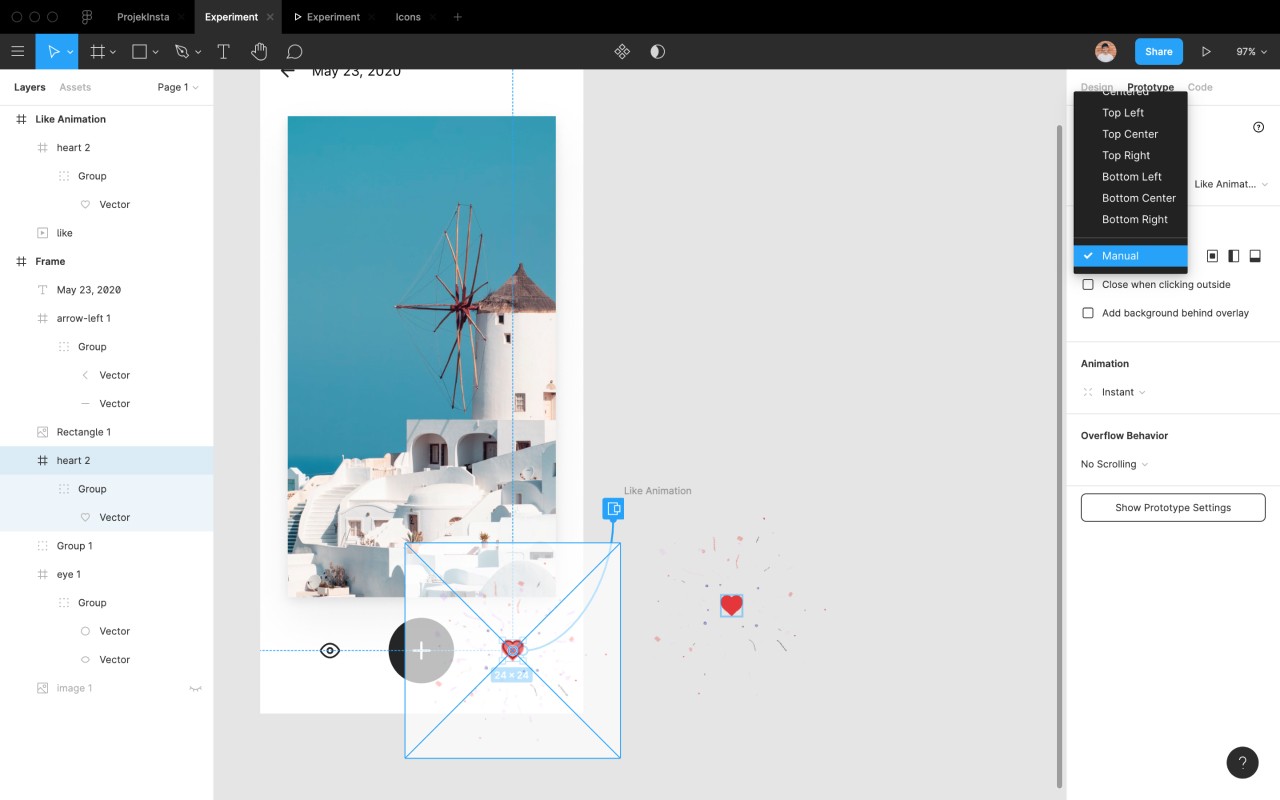
On the Prototype tab, create an interaction for the Like button to the GIF frame.
Select Open overlay -> Manual position -> Move it to the desired position.
Tips: Using arrow keyboards to move it so we can see the overlay background
5. Create auto-go-back
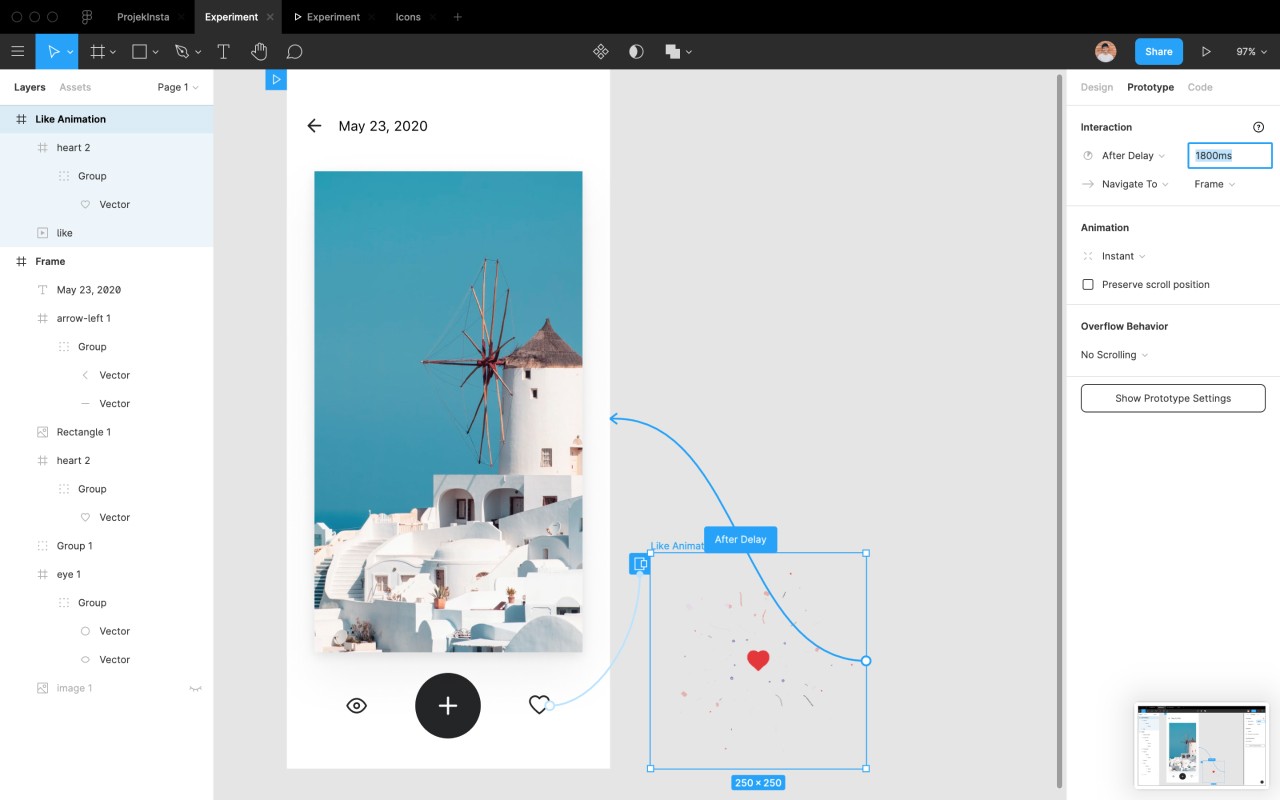
On the GIF frame, adding an auto-go-back interaction to the main frame by selecting After a delay -> Add value (I use 1800ms)
6. Run and test
Run prototype and test your animation. You can try my Figma prototype here and duplicate my Figma file here if you need.
7. Finish and Handover
Then just need to give the JSON file to developers and they can add animation easily.
Believe me, developers would love it.
P/S: Some tips on the micro animation:
- Keep the animation short. 1s or less.
- Keep a delay of 0.5s at the beginning of the reaction to allow a user’s finger to leave the trigger. And they can see the animation
- Test it, until it “feels right”
Part 3: Adding animation to our Web (GatsbyJS and React)
Now, we’ll be looking at how to use Lottie to add animations to our GatsbyJS / React applications. (By the way, my site is running on GatsbyJS).
1. Install Lottie for Web
We can install it right into our current project, or create a new react app for testing with NPM or yarn module.
yarn add react-lottie
For more info, visit lottie web on Github
2. Add our animations.
Let’s create our basic component structure!
But first, we will need to acquire a JSON animation. You can create yourself like the previous steps, or try some free files from Lottiefiles. All we need is a JSON file.
I placed it into a subfolder called asset-animation.
After importing lottie and our JSON file, copy-paste the code below:
import React, { createRef, useEffect } from "react";
import lottie from 'lottie-web';

import animationData from '../asset-animation/city.json';

const Lottie = () => {

  let animationContainer = createRef();
  let anim = null;

  useEffect(() => {
    anim = lottie.loadAnimation({
      container: animationContainer.current,
      renderer: "svg",
      loop: true,
      autoplay: false,
      animationData: animationData
    });

    return () => anim.destroy(); // optional clean up for unmounting
  }, []);

  function handleStop() {
    anim.pause();
  }
  function handleStart() {
    anim.play();
  }

  return (
    <Layout>
      <SEO pathname={location.pathname} title={"About me"}/>
      <Section narrow >
        <HeadingContainer>
          <div onMouseEnter={handleStart} onMouseLeave={handleStop}>
            Hover me
            <HeroHeading ref={animationContainer}></HeroHeading>
          </div>
        </HeadingContainer>
      </Section>
    </Layout>
  );
};

export default Lottie;
The code is pretty simple. We import the lottie module first and then the animation JSON. We define our animation div wrapper. Then in the useEffect, we invoke the animation using the loadAnimation() function.
The loadAnimation() method accepts the following parameters. All details in the The docs.
- animationData: an Object with the exported animation data.
- path: the relative path to the animation object. (animationData and path are mutually exclusive)
- loop: true / false / number
- autoplay: true / false it will start playing as soon as it is ready
- name: animation name for future reference
- renderer: ‘svg’ / ‘canvas’ / ‘html’ to set the renderer
- container: the dom element on which to render the animation
Okay! We are done, man! Now the animation is rendered as an SVG element on our website. View my file here →.
I have to say this, I love SGVs! And SVG animation is the greatest thing ever.
The guide above is very basic. But that’s a good foundation we can use animation on the web.
I believe that after you see how our animation runs on our website, you will be excited and create more, customize more to fit your taste.
As a designer, I thought it was impossible, or it would take months to do it. But when I decided to do some research and try it, it’s easier than I think. Yeah, humans, we often exaggerate the fear.
Okay! It’s the complete guide for Lottie animation. From creating it to implement it to a website (I guess the same for iOS / Android / React Native).
Looking forward to seeing more micro-interactions on the web and any apps. Because it’s delightful.
No spam, no sharing to third party. Only you and me.

